Deploying NSX Advanced Load Balancer in Write Access Mode
Overview
This guide explains the deployment process of NSX Advanced Load Balancer in write access mode. Write access is the recommended deployment mode. It is the quickest and easiest way to deploy and offers highest levels of automation between NSX Advanced Load Balancer and vCenter.
After completing the deployment process, click here for more information on creating virtual services.
Deploying NSX Advanced Load Balancer in Write Access Mode
Following are the steps to deploy NSX Advanced Load Balancer in a vCenter managed VMware cloud in write access mode:
- Performing initial Avi Controller setup
- Installing Avi Service Engine
- Downloading Avi Service Engine on OVA
- Deploying Avi Service Engine OVA file
- (For static IP assignment) Configuring IP address pools for networks
Note: It is mandatory for No Access clouds on vCenter environments, that the AVISETYPE ovf parameter contains NETWORK_ADMIN,AVICLOUD_UUID: <cloud-uuid> in a scenario where a write access cloud is also pointing to the same vCenter.
Deploying NSX Advanced Load Balancer Controller OVA in Write Access
Log into the vCenter server through a vCenter client. Use the client to deploy NSX Advanced Load Balancer Controller OVA file by following the steps mentioned below:
- Click on File in the top menu and choose Deploy OVF Template.
- Follow the Deploy OVA Template wizard instructions:
- Choose Thick Provision Lazy Zeroed for disk format.
- Choose a port group for Destination Networks in Network Mapping. This port group will be used by the Controller to communicate with vCenter.
- Specify the management IP address and default gateway. In the case of DHCP, leave this field empty.
- Power on the VM.
Note: After you install the OVA and before you power the Controllers on, edit the hardware resources and change the CPU, memory and disk to the minimum recommended values for production. Refer to Controller Sizing guide for more details.
Performing the Controller Initial Setup
You can change or customize settings following initial deployment using the Controller’s web interface.
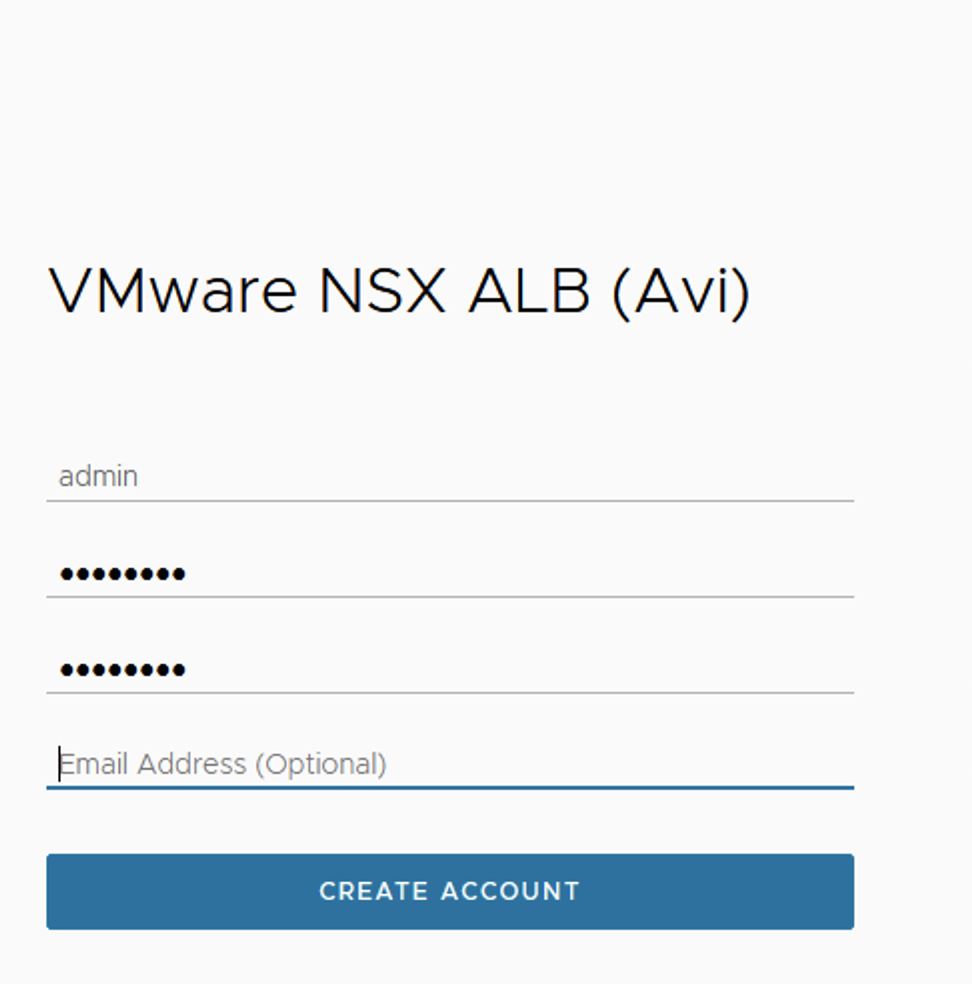
Navigate to the Controller on your browser.
Note: While the system is booting up, a blank web page or a 503 status code may appear. Wait for about 5 to 10 minutes and then follow the instructions below:
Step 1: Configure the basic system settings:
-
Administrator account
-
DNS and NTP server information
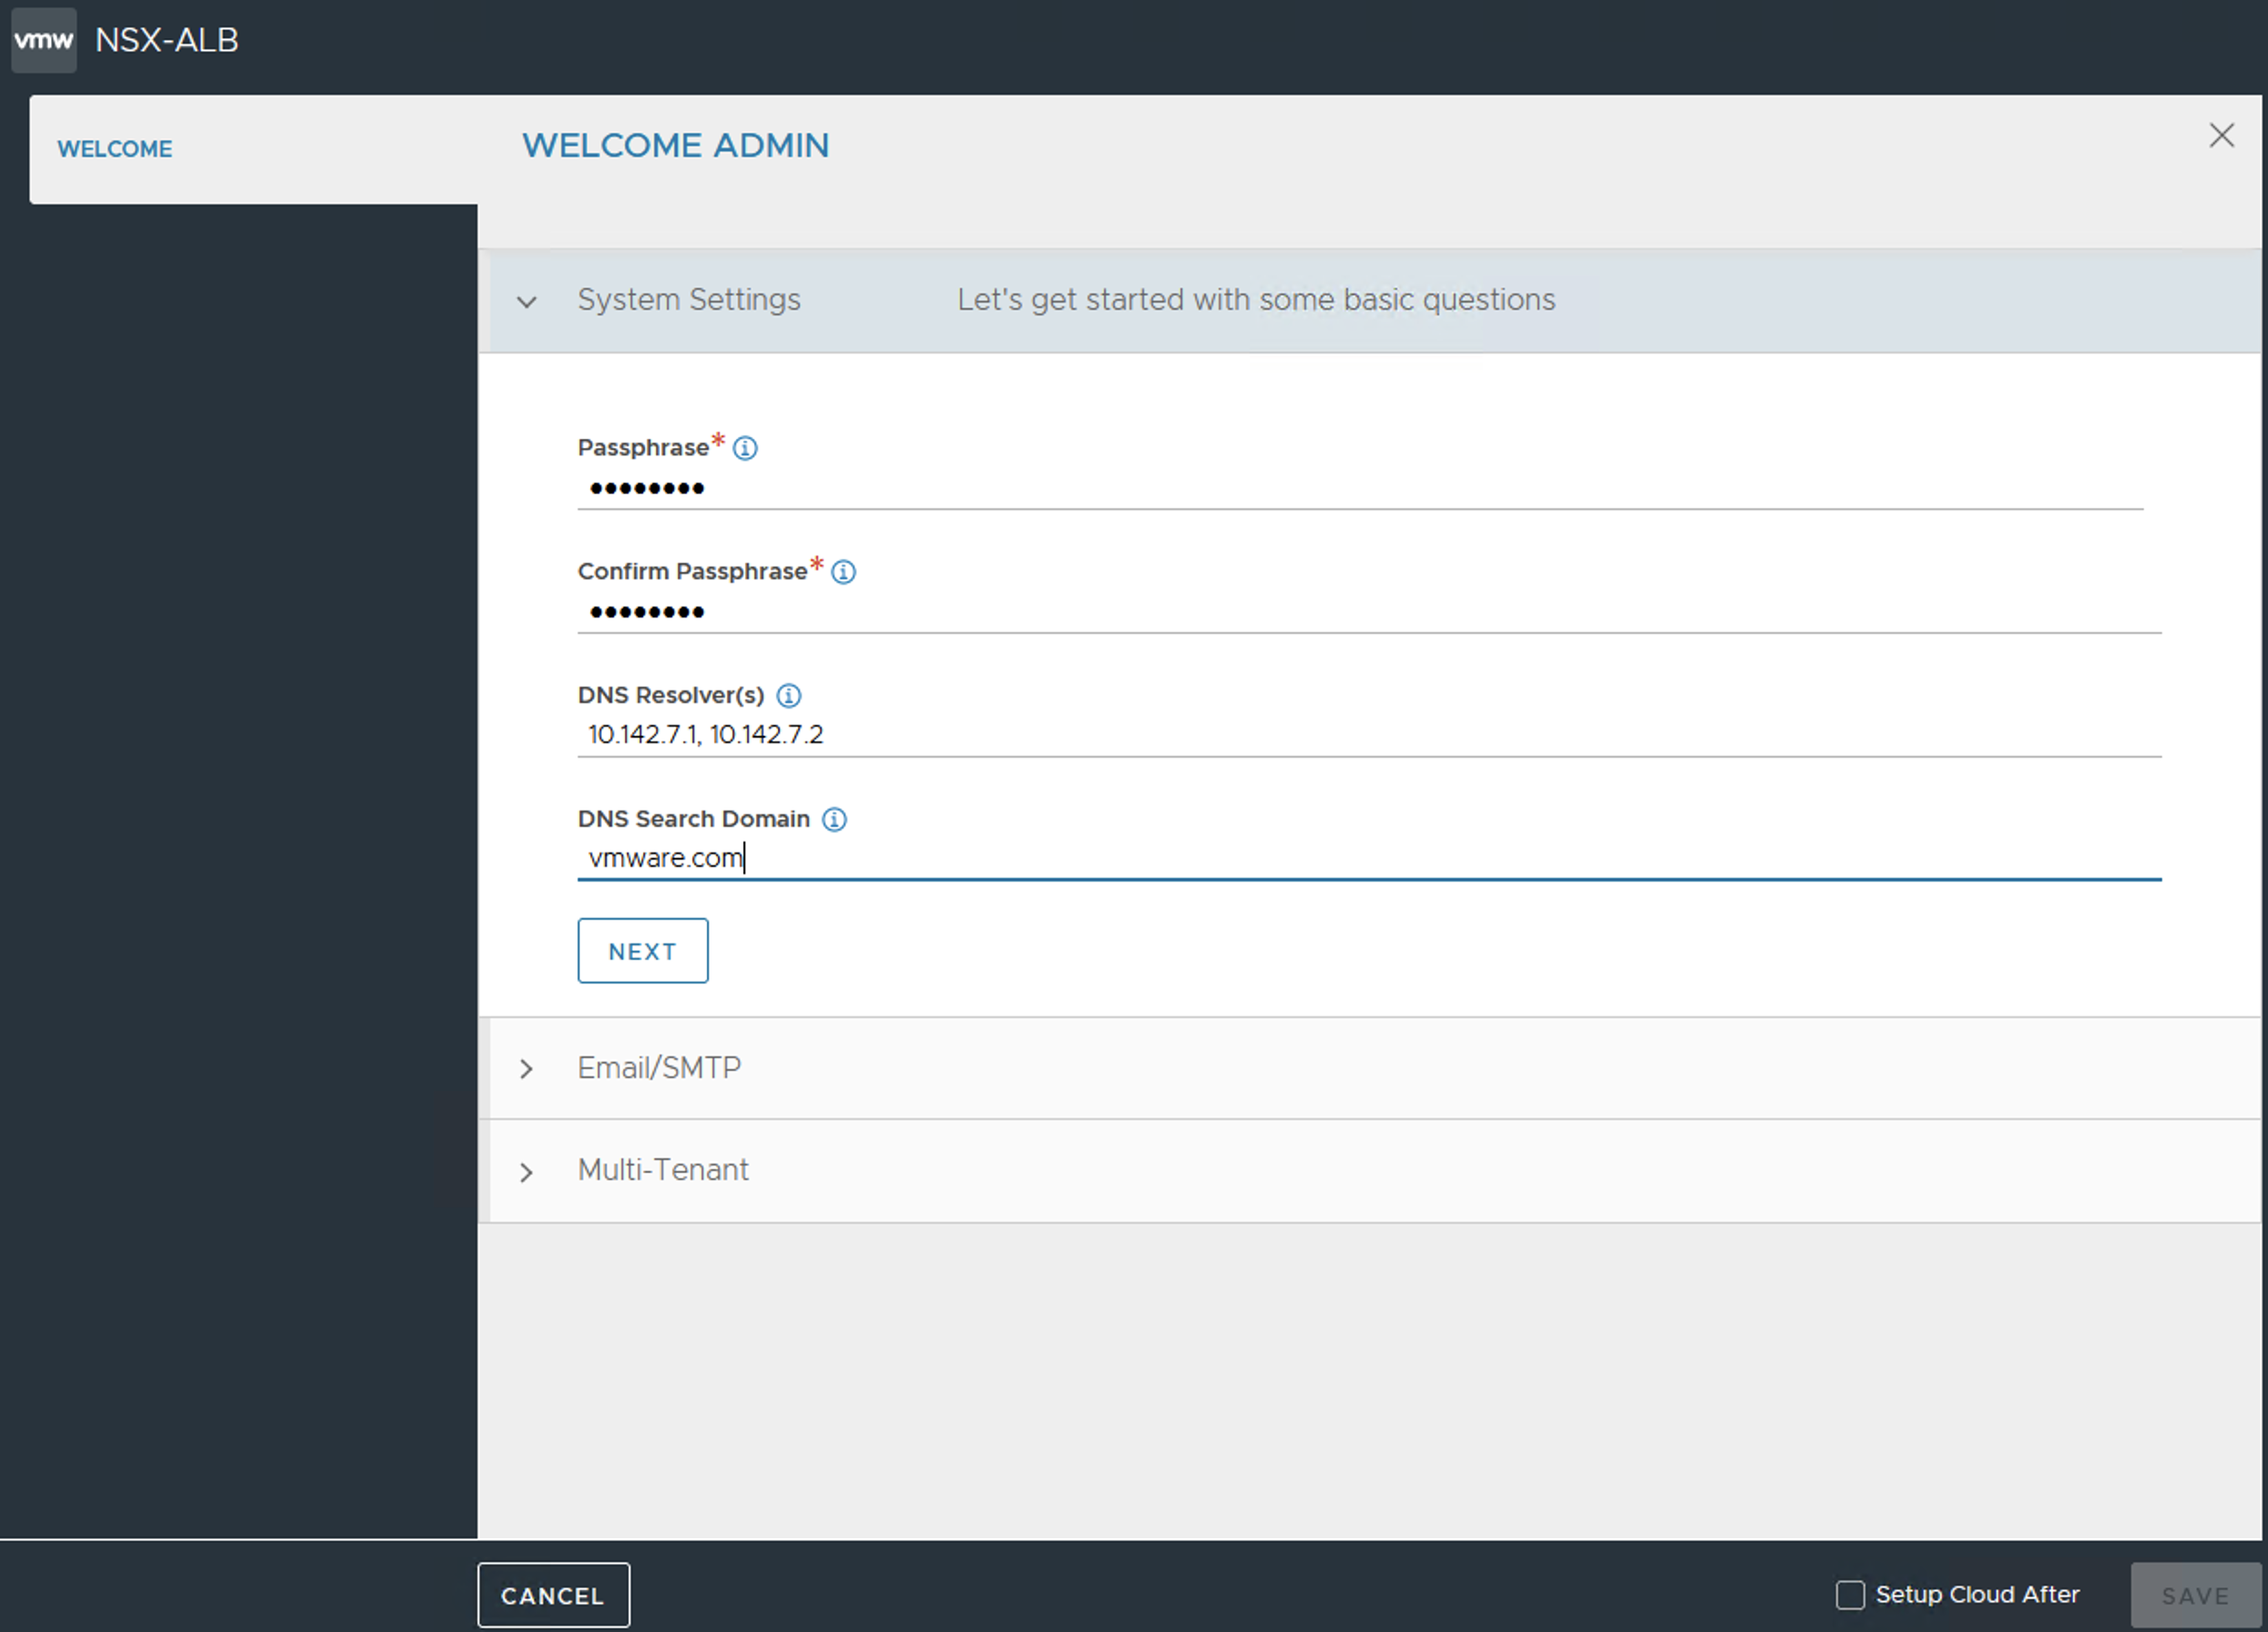
-
Email or SMTP information
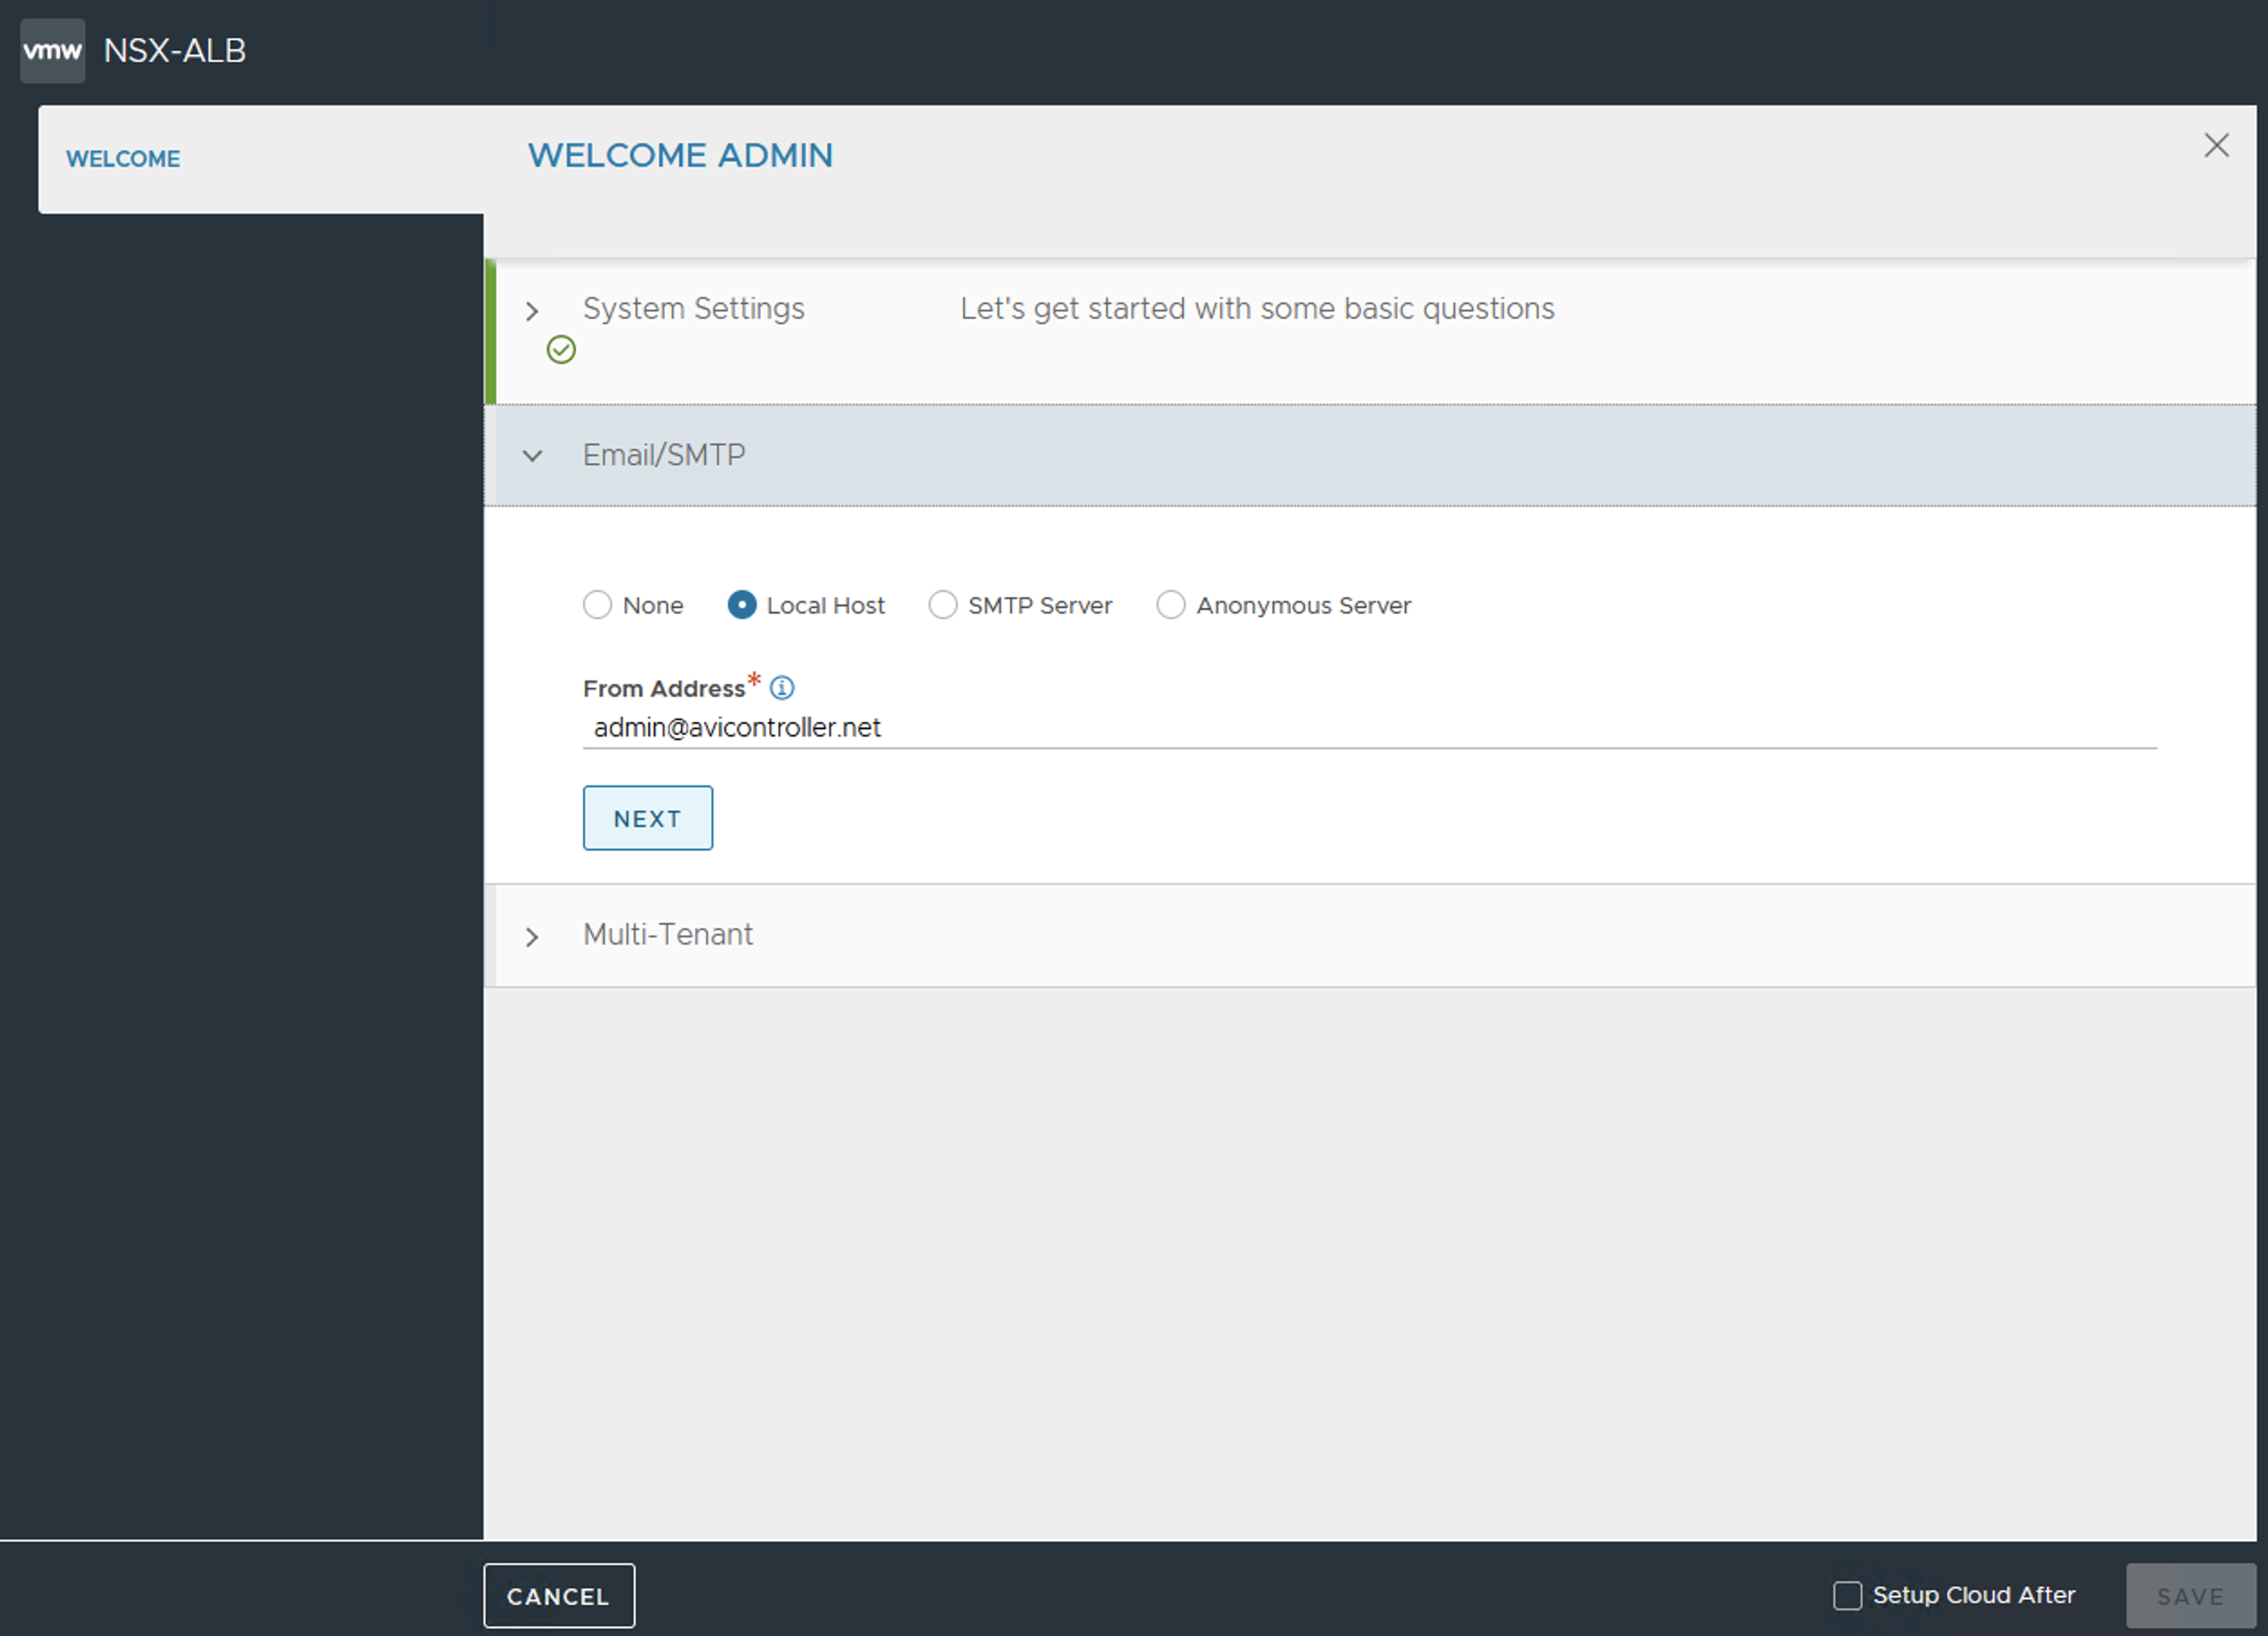
-
Multi tenant information
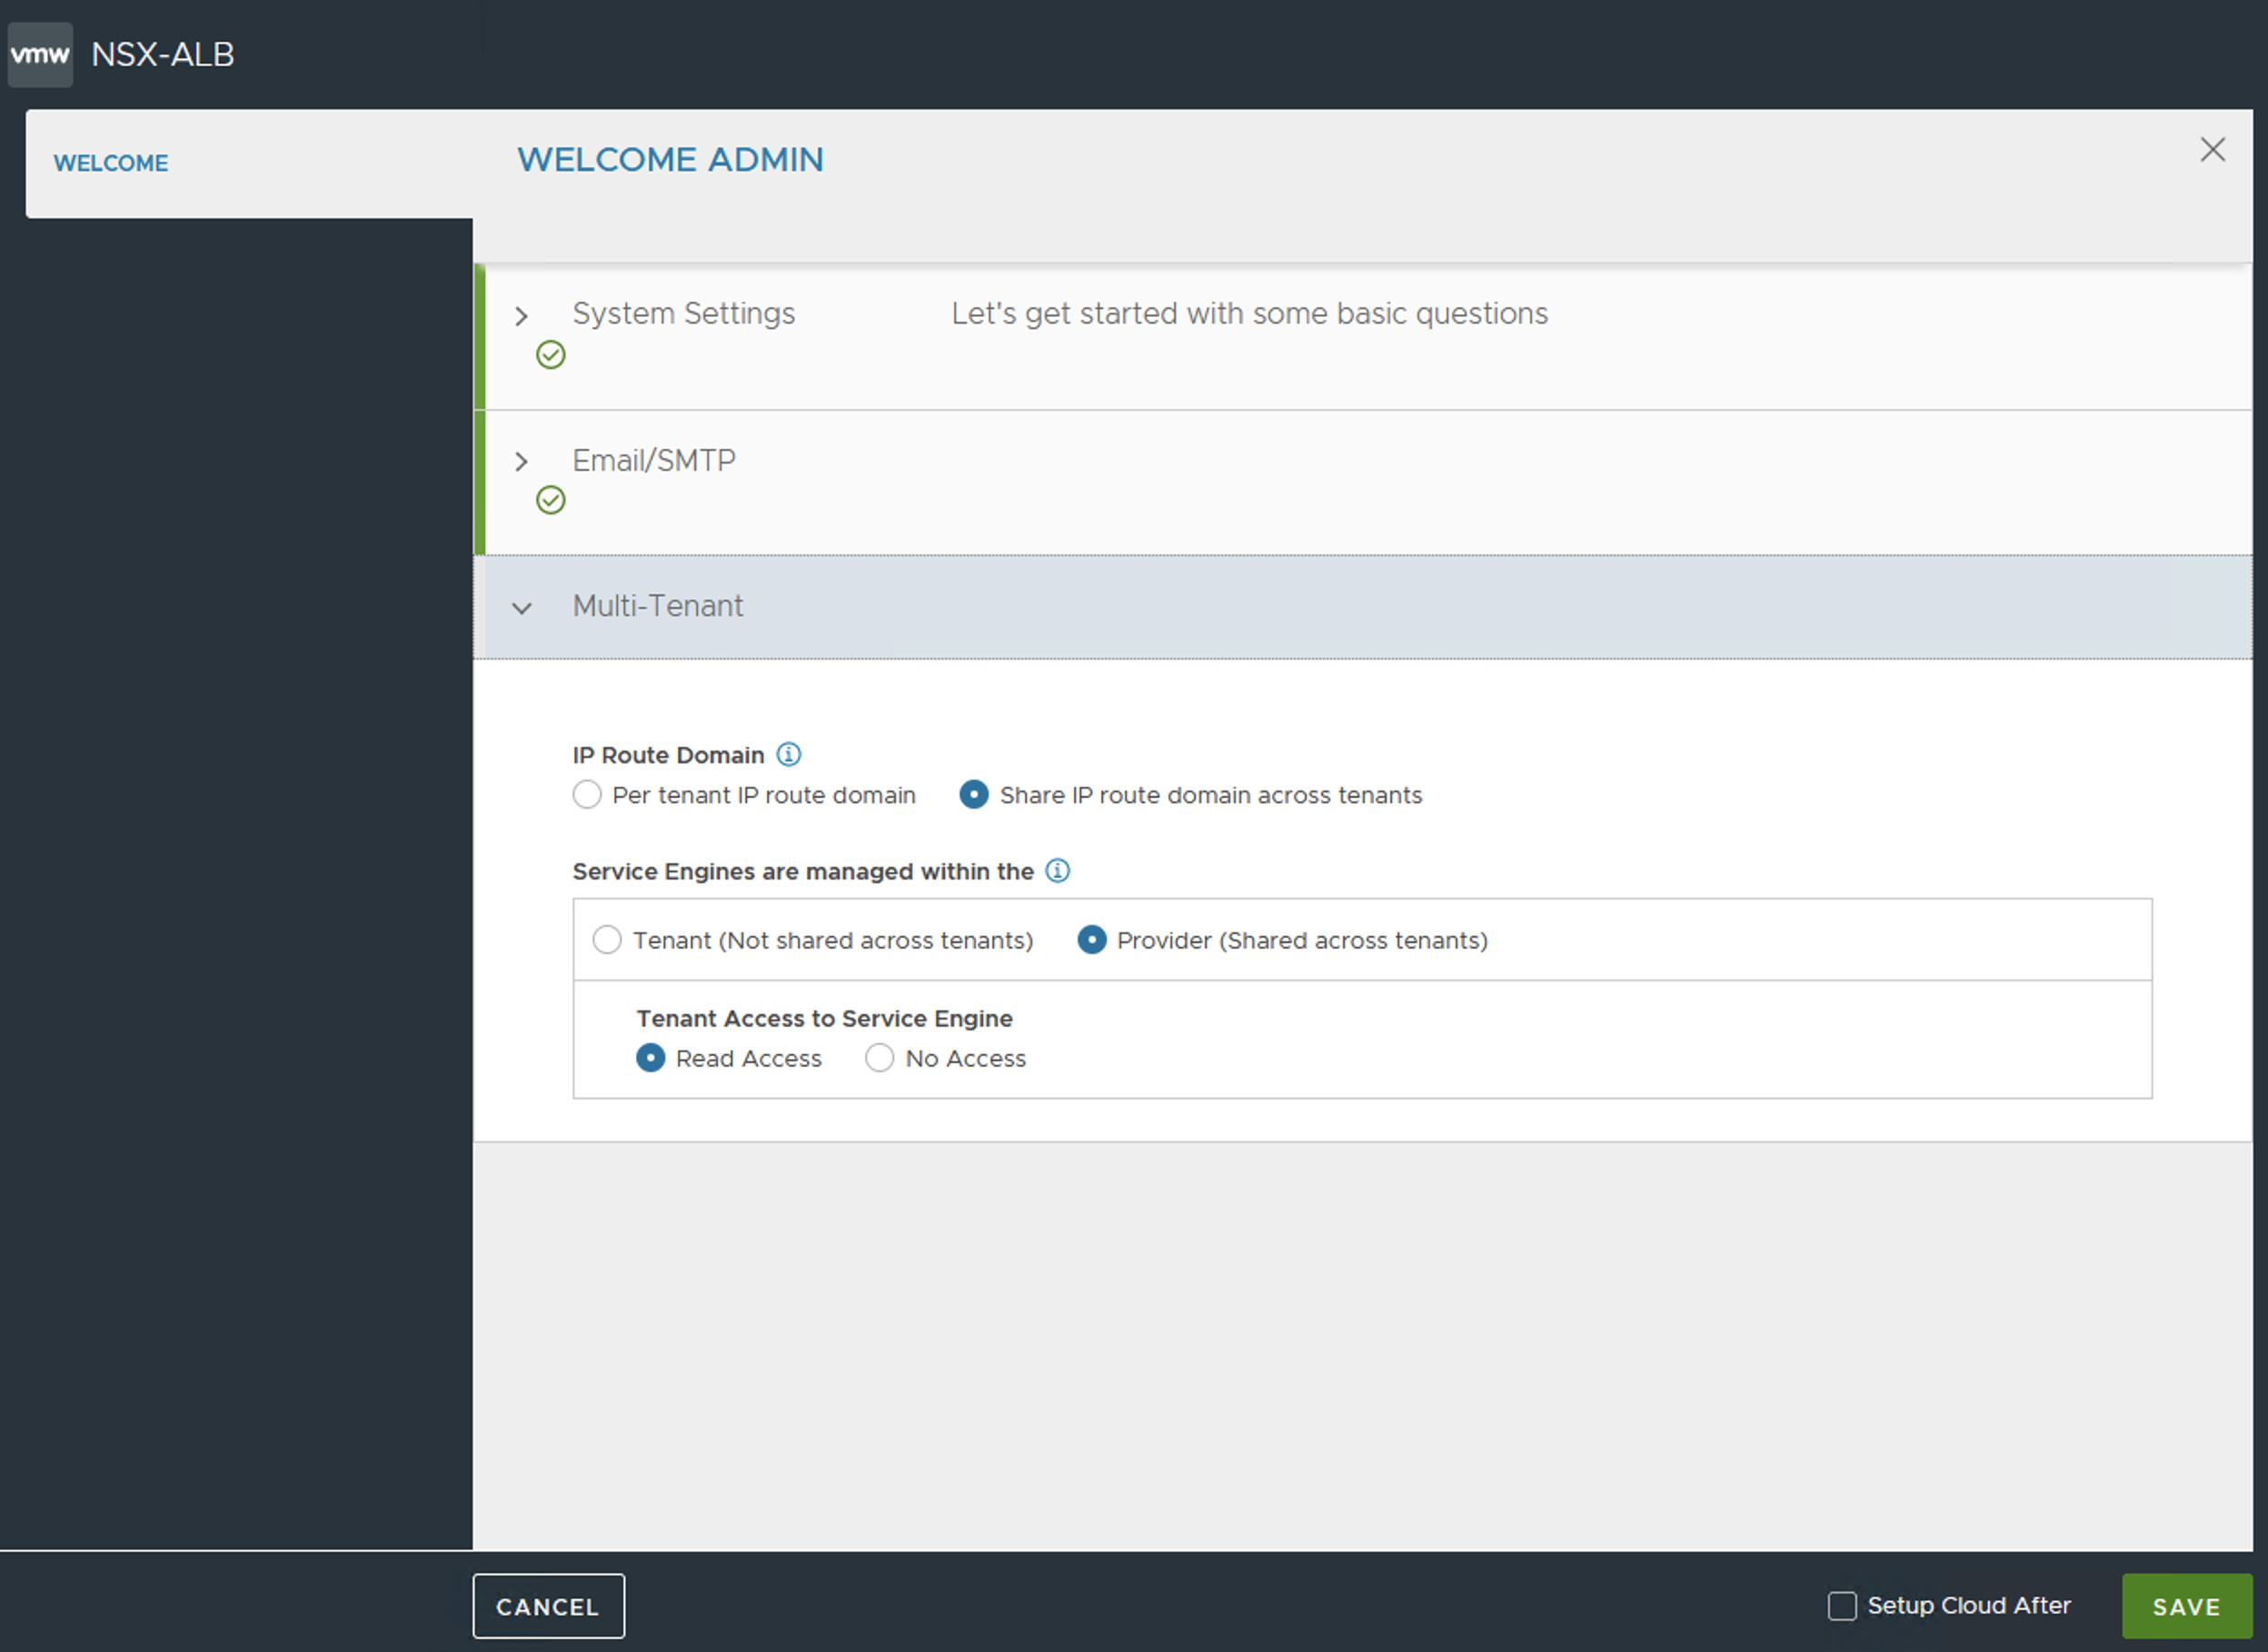
After specifying the necessary details, click Save. The Controller window will be displayed.
Step 2: Configure the VMware vCenter/vSphere ESX cloud by selecting that option in Create drop-down list.
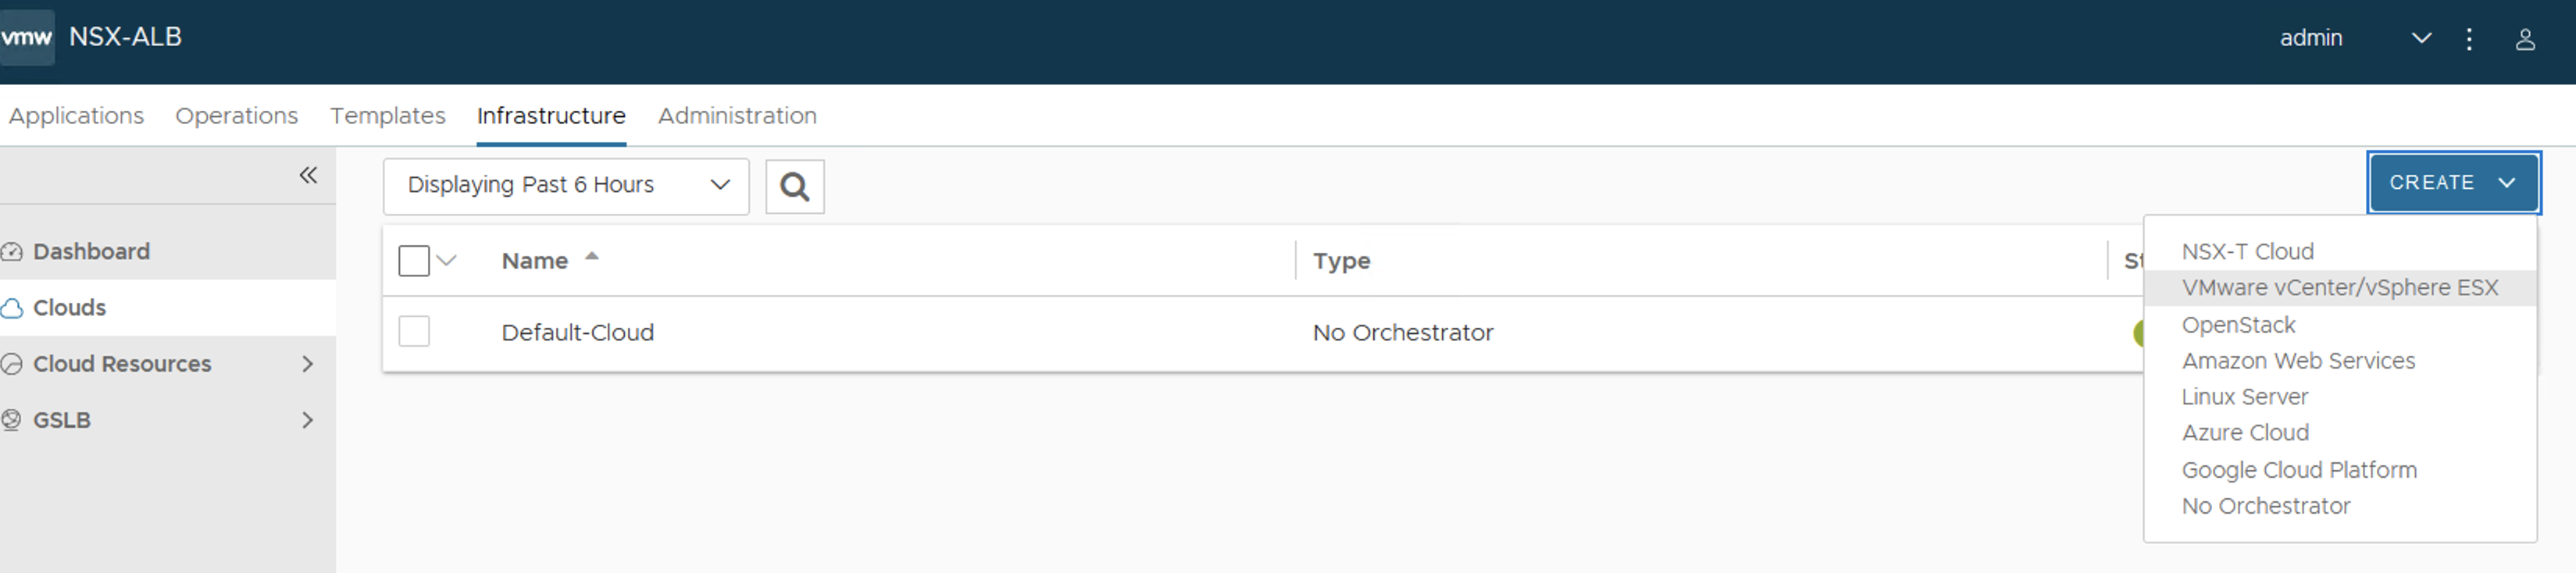
-
Specify the name of the cloud and enable DHCP checkbox accordingly.
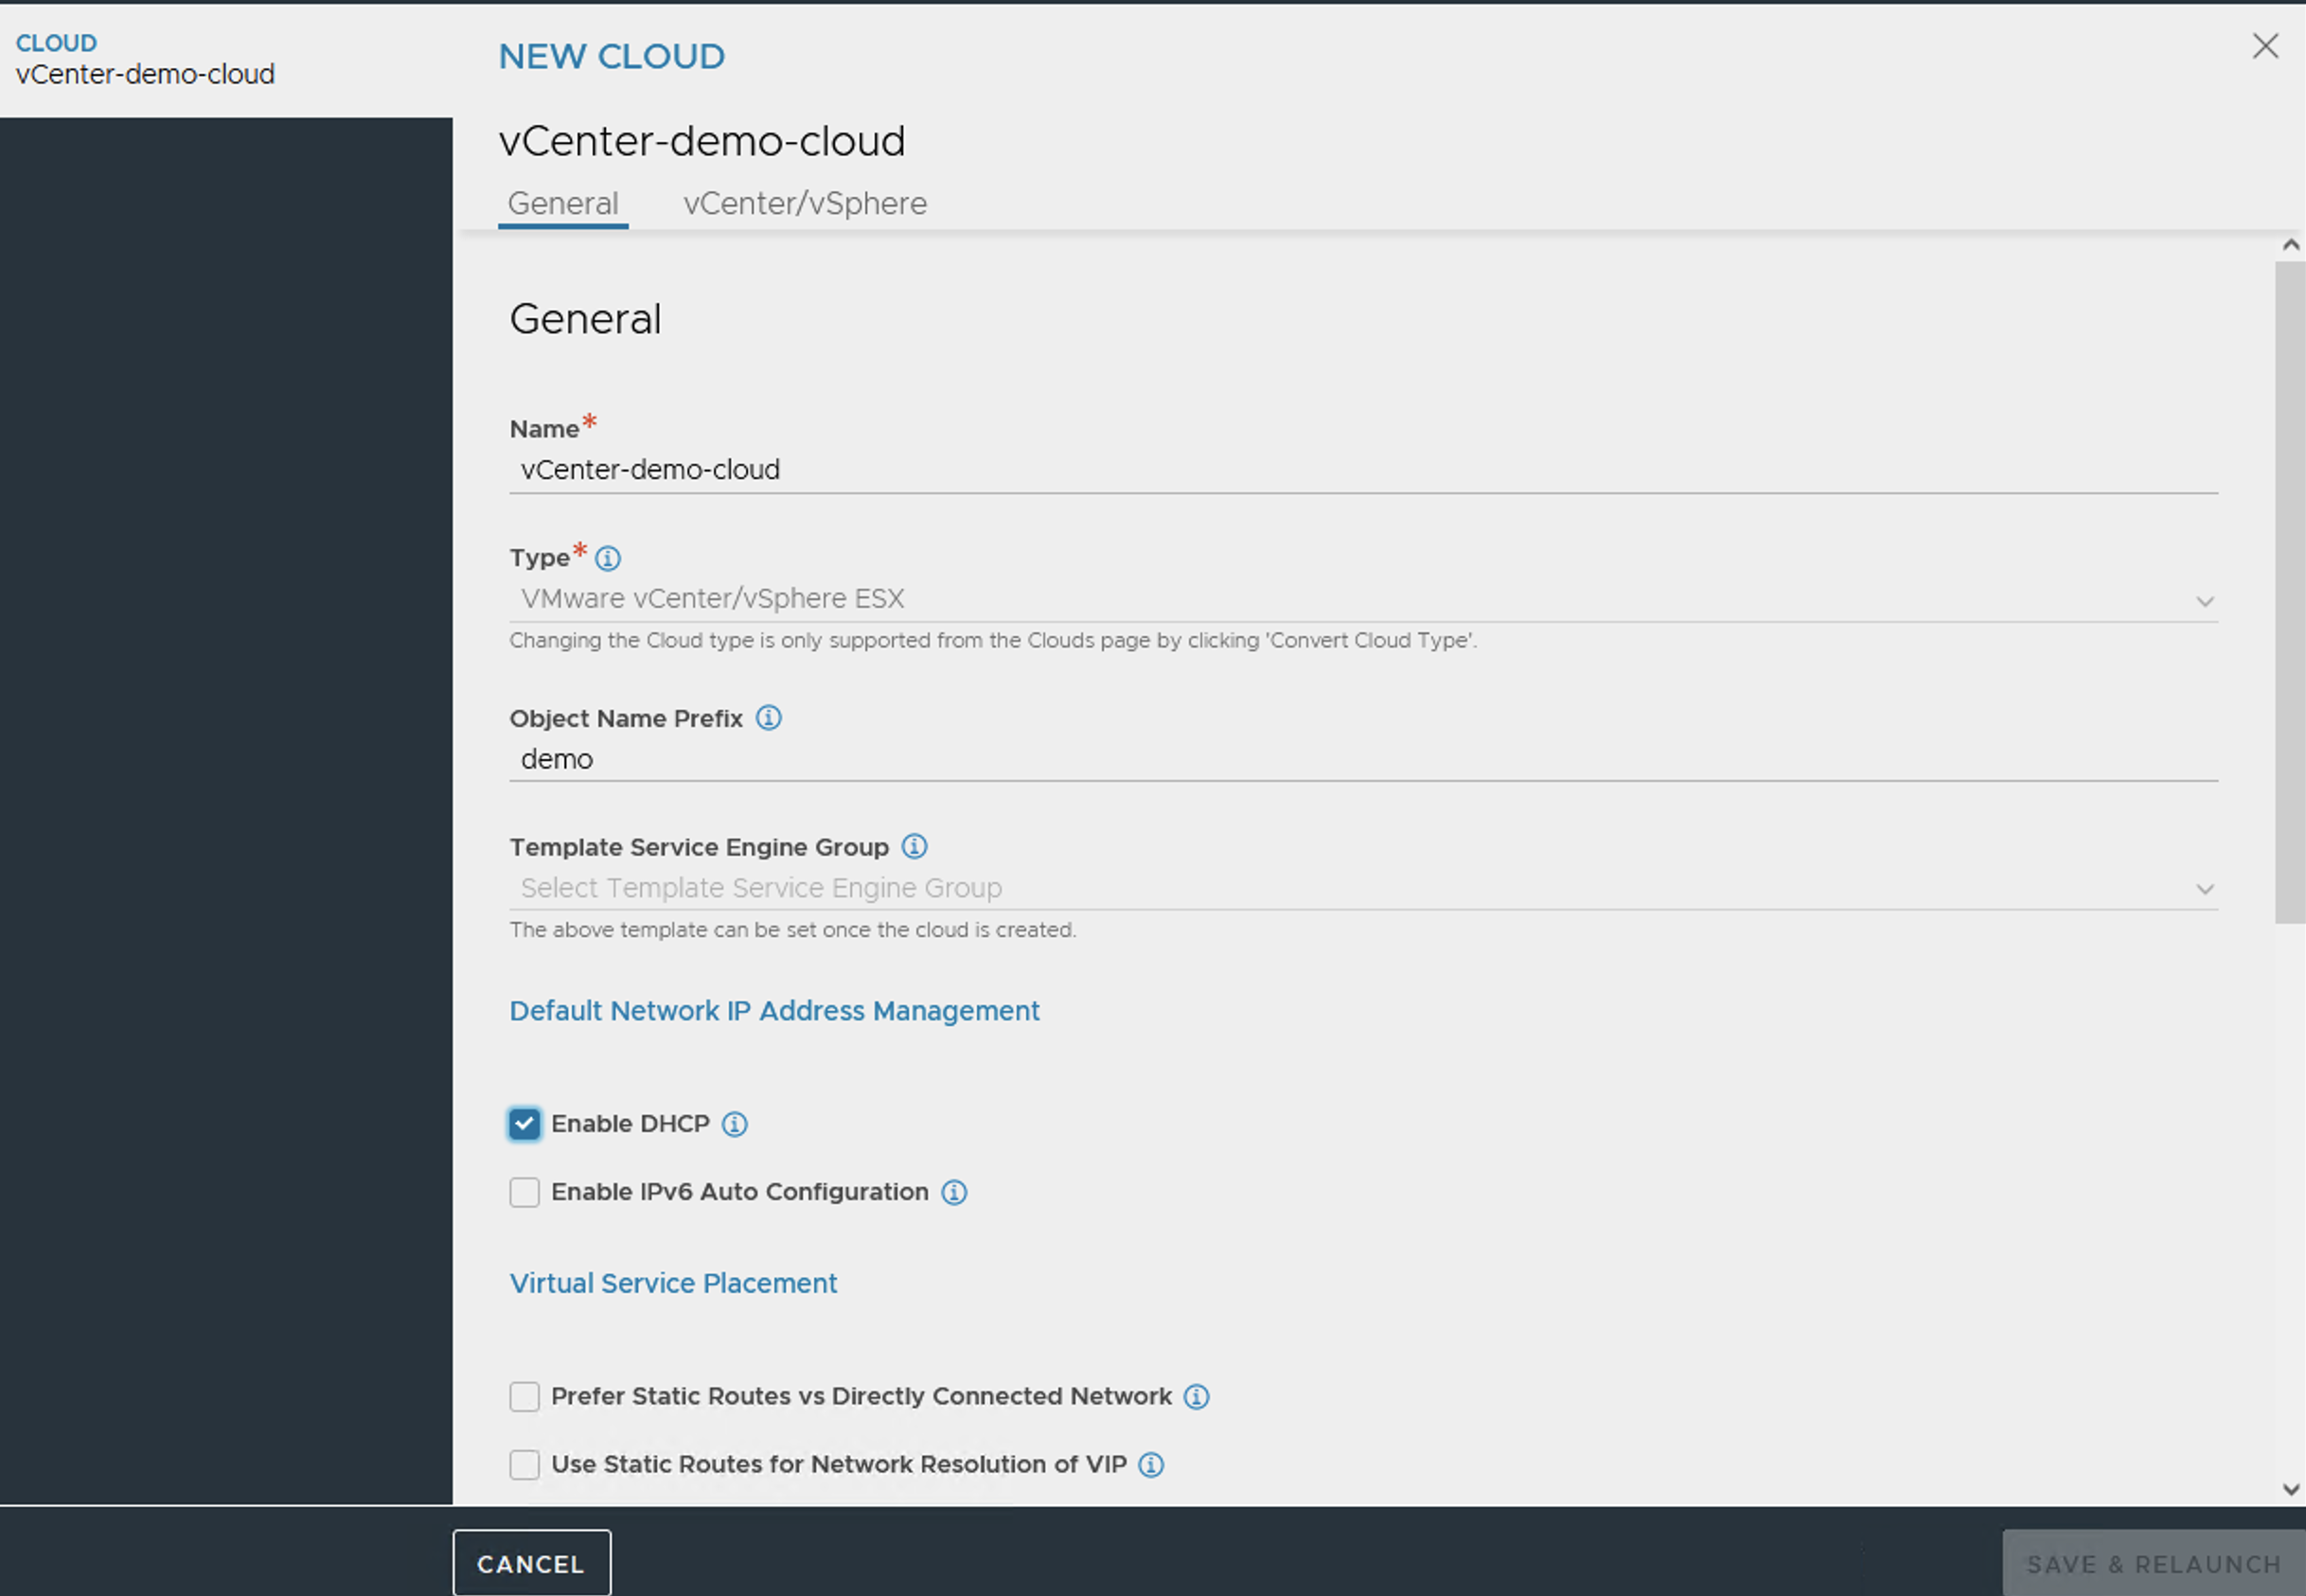
-
Configure vCenter credentials. Specify the necessary details and click Connect and then specify the data center value.
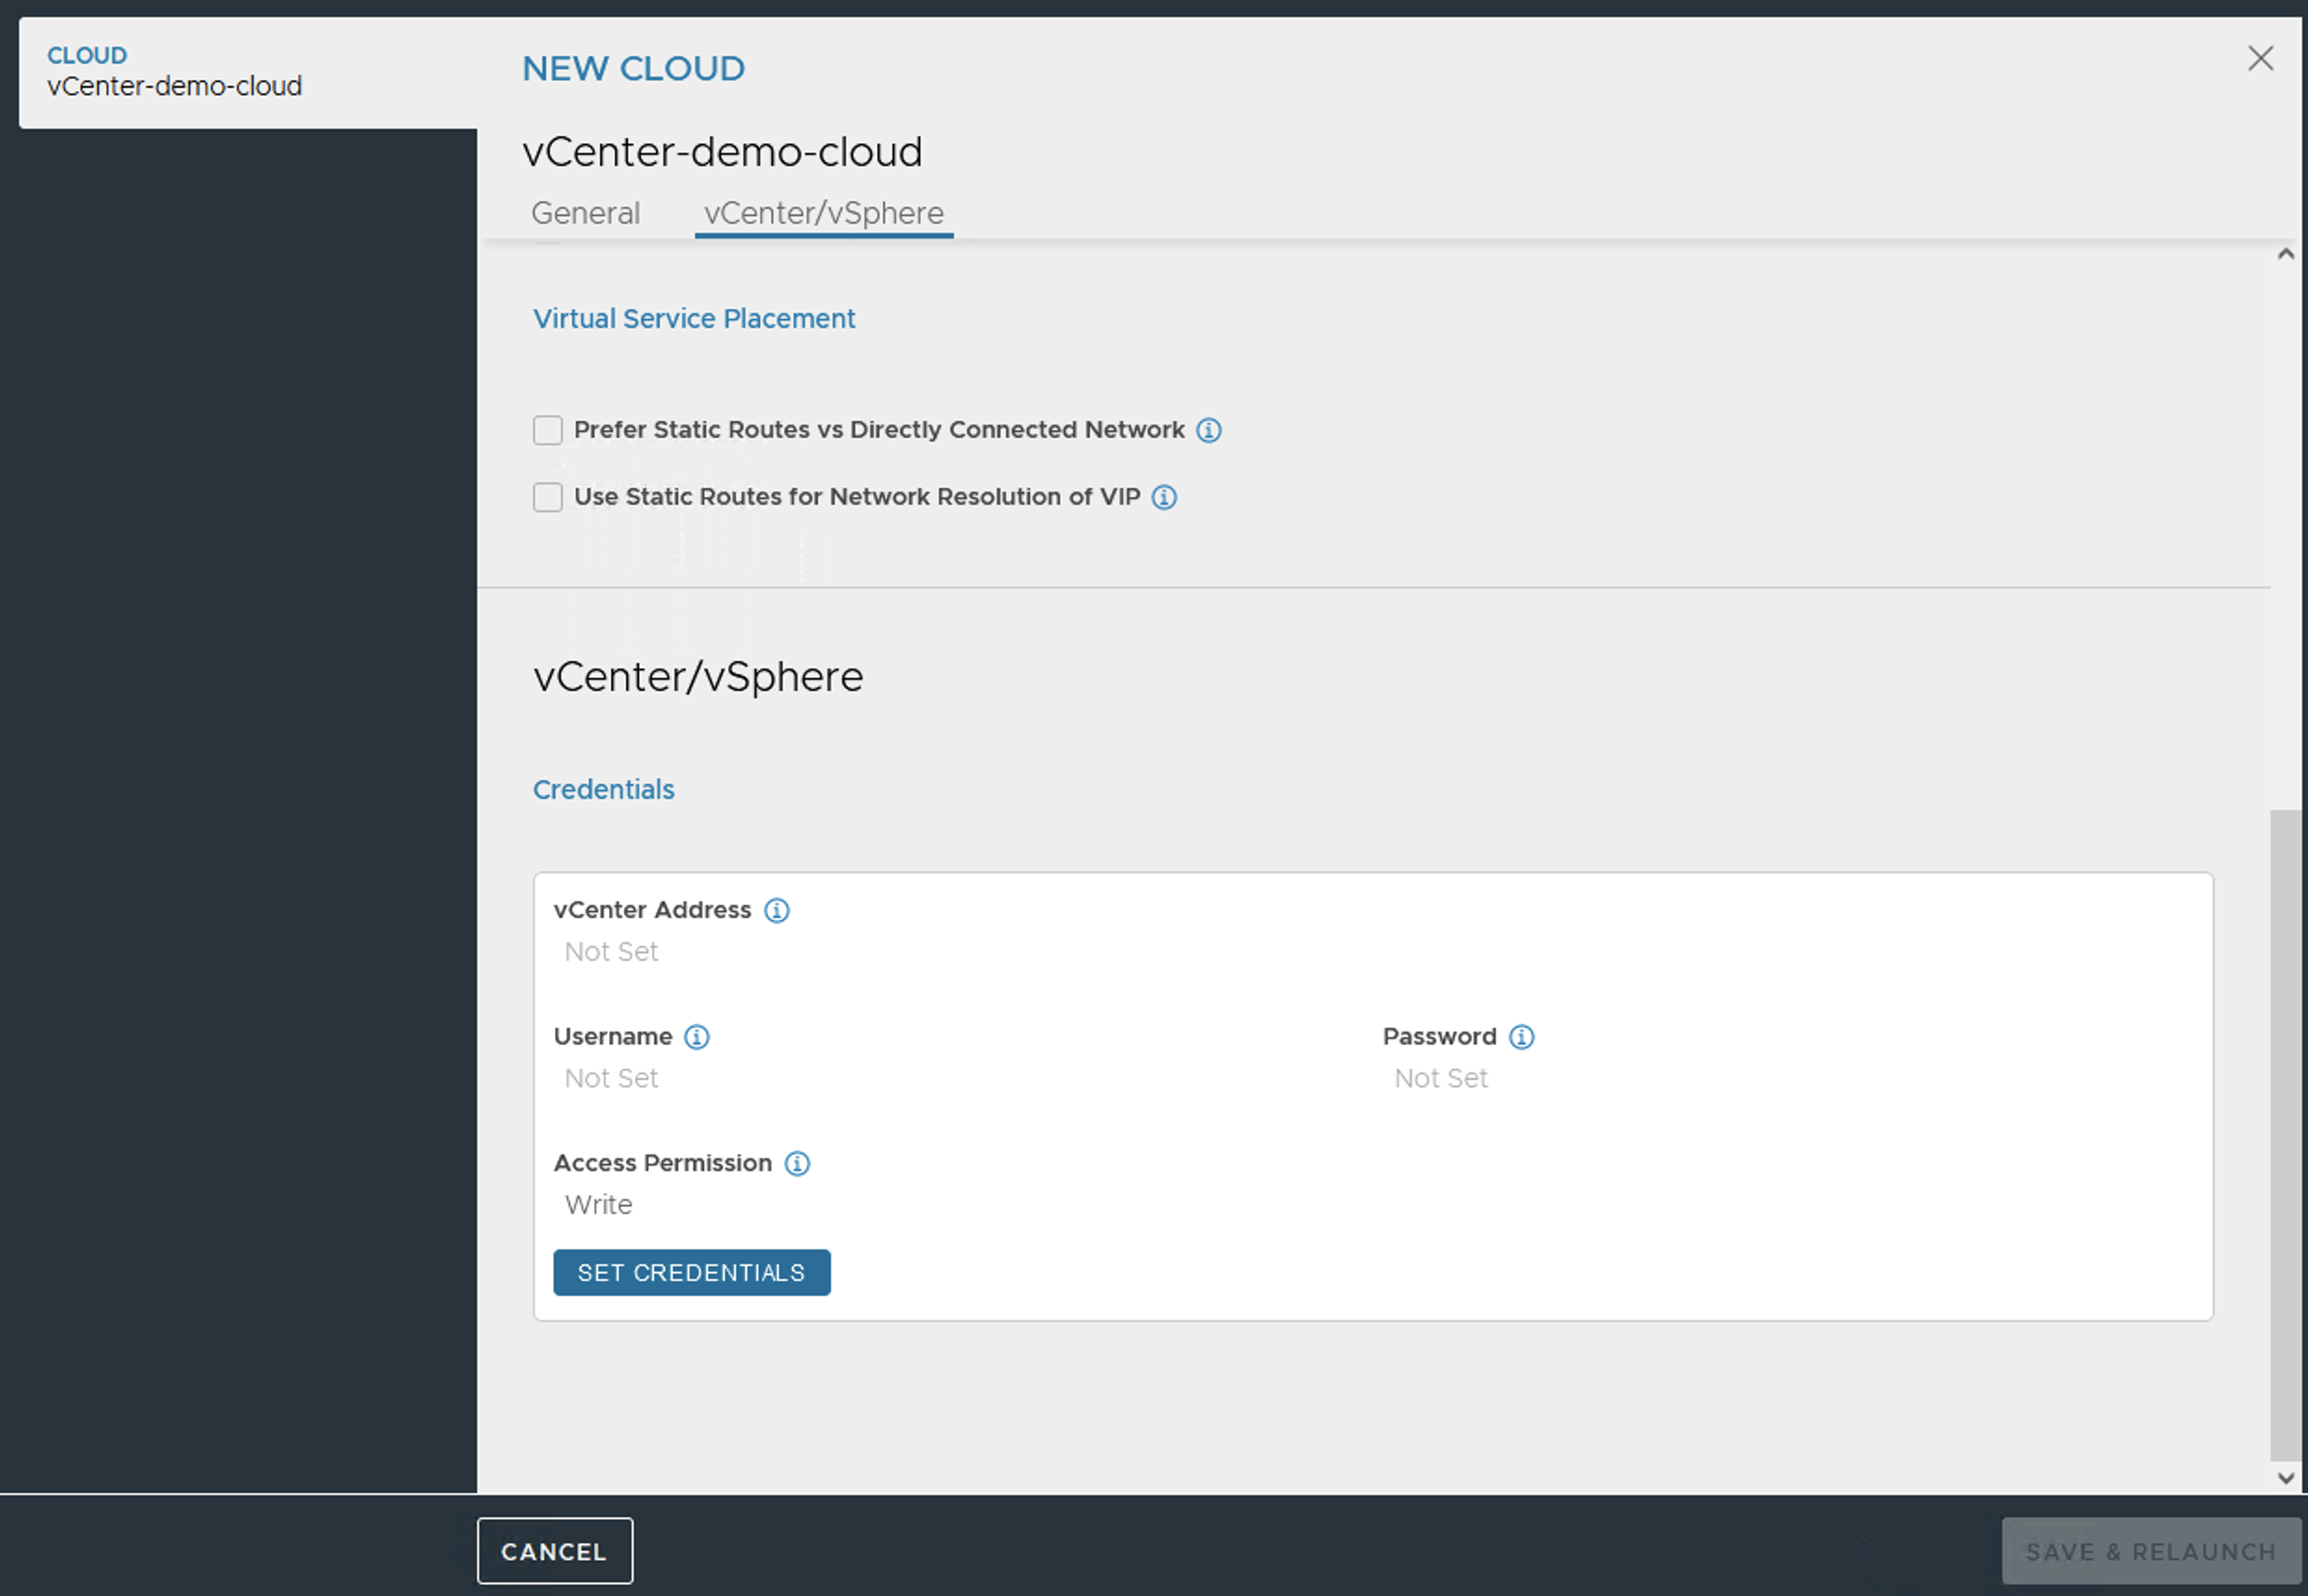
-
Select the content library checkbox and click SAVE & RELAUNCH.
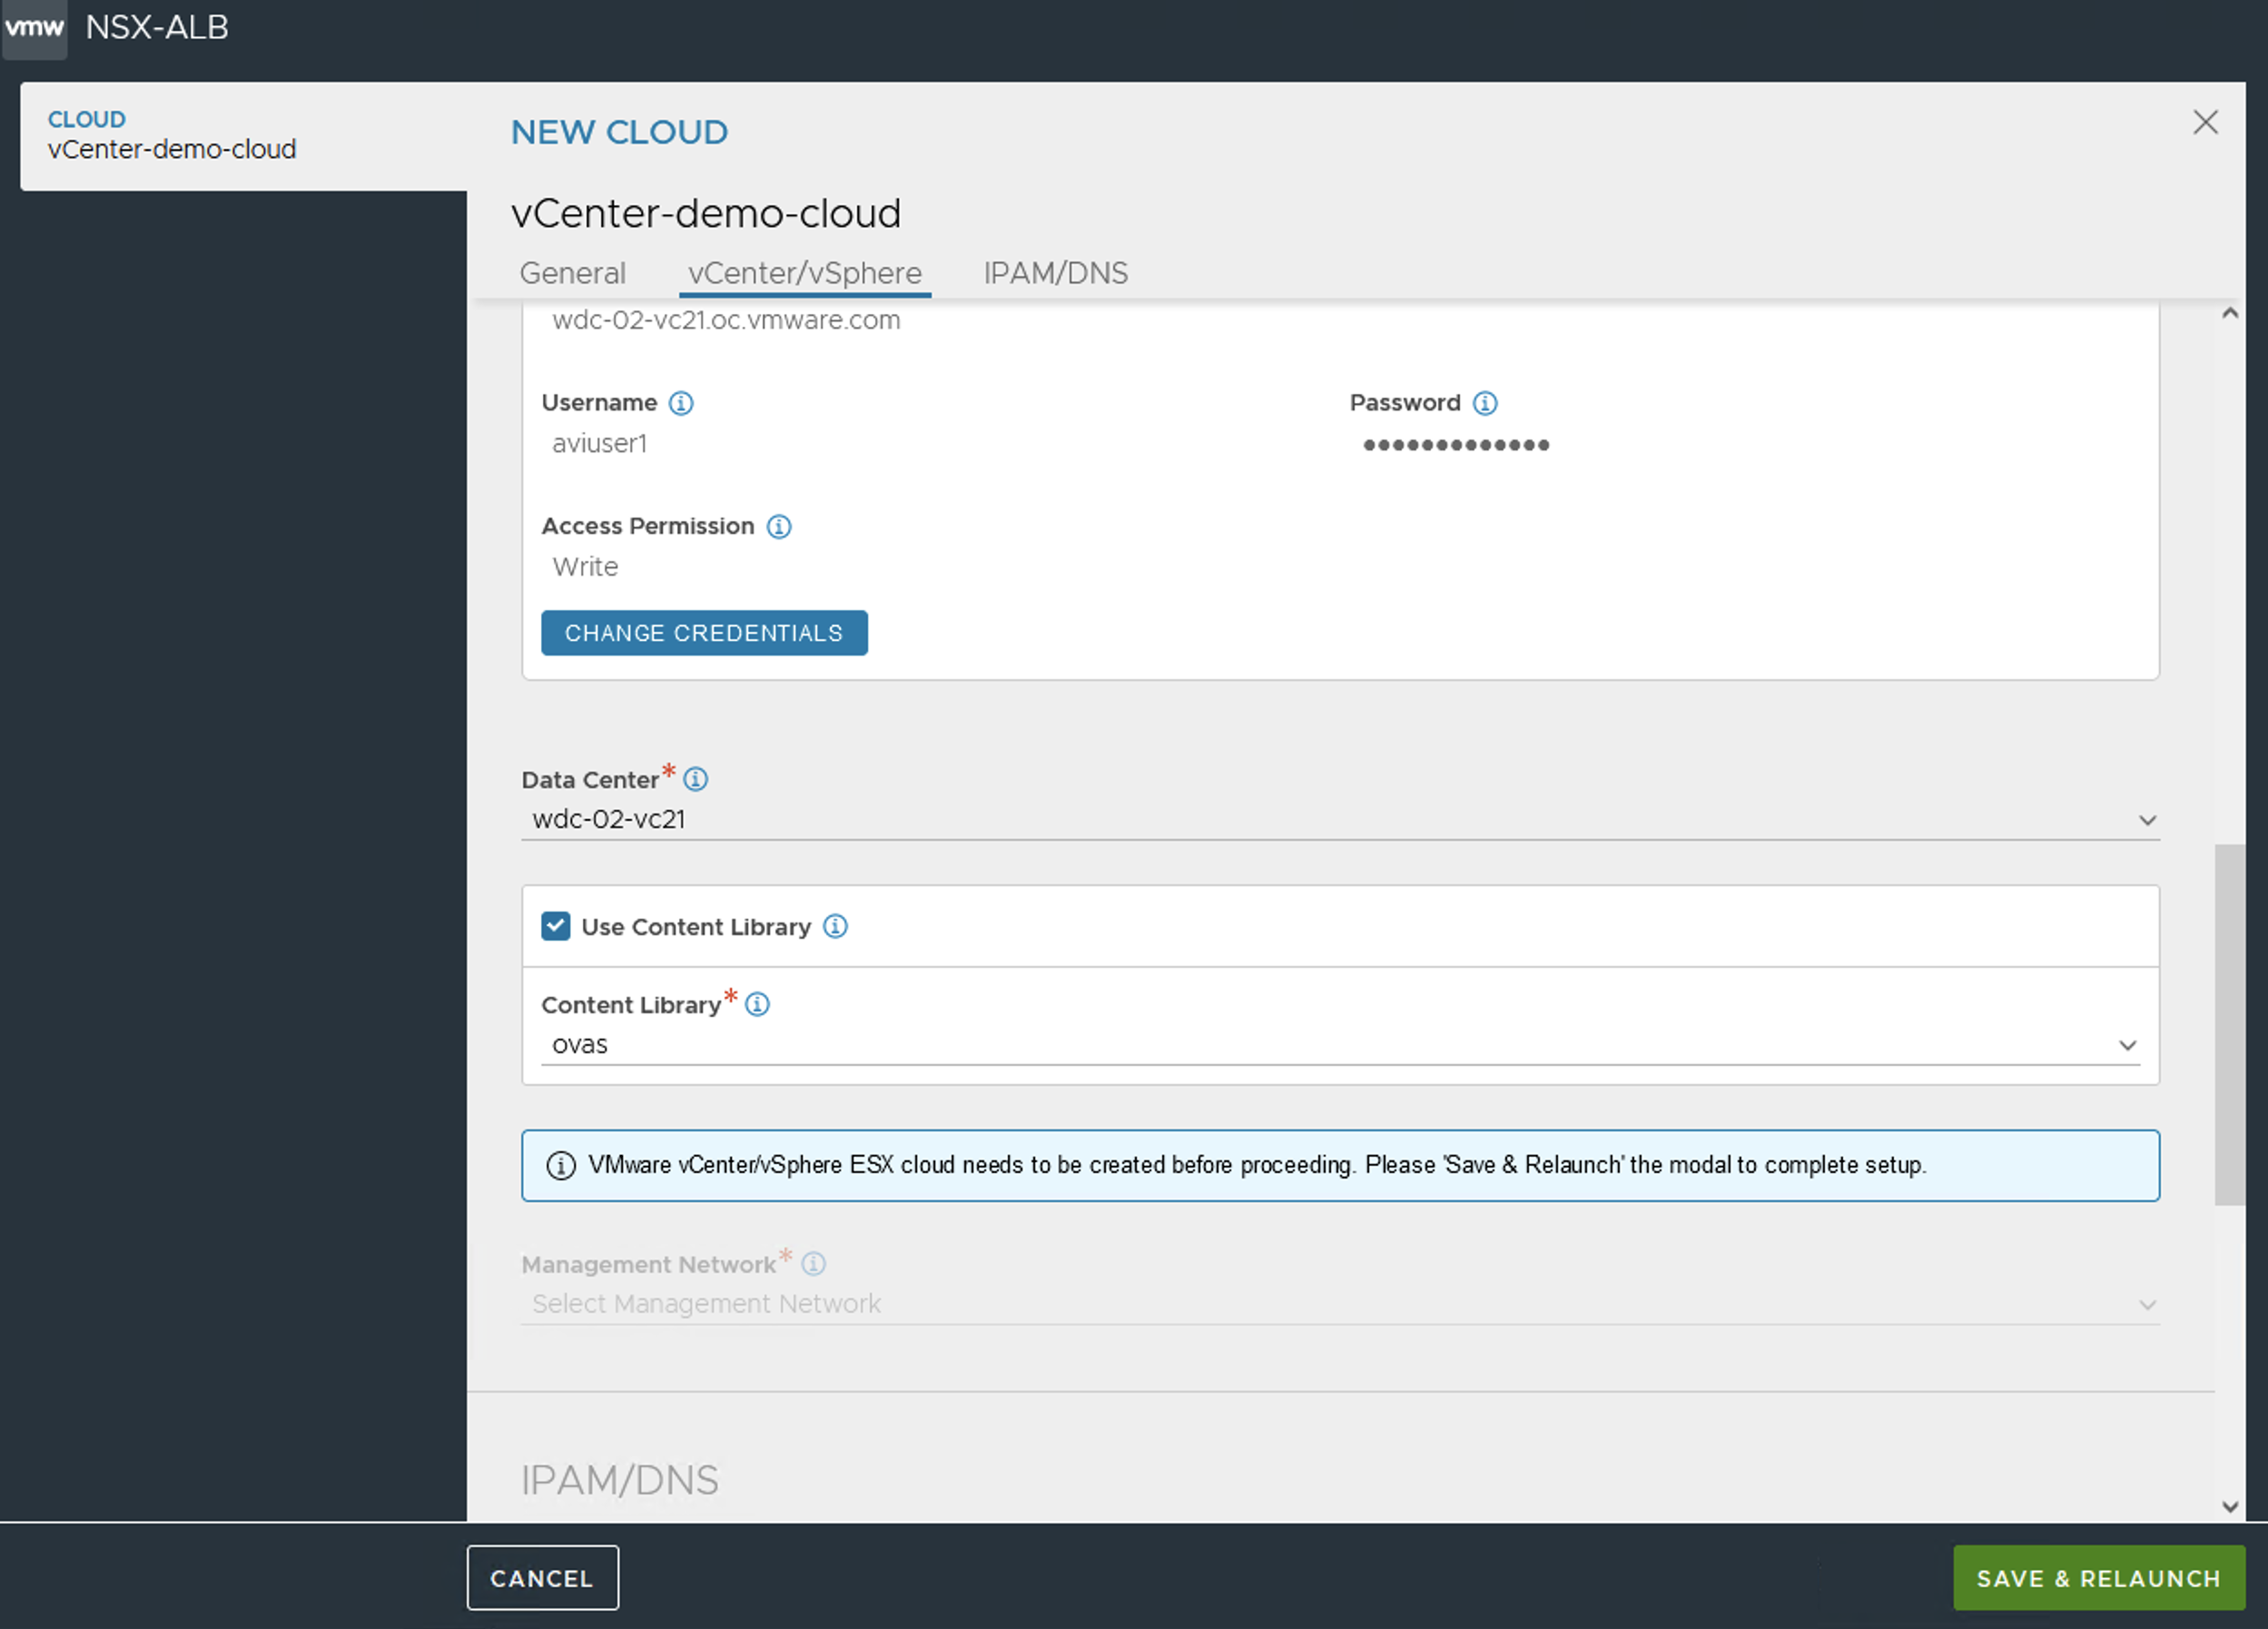
-
The Management Network will be enabled after saving and relaunching. Specify the Management Network details. You can also provide the IPAM and DNS details as per configuration requirements. Click Save.

Step 3: vCenter Cloud Configuration
-
Navigate to Infrastructure > Clouds to configure VMware vCenter/vSphere ESX cloud. Click Create and follow the steps accordingly.
One vNIC out of the 10 NSX Advanced Load Balancer Service Engine vNIC is for management network connection. The other 9 vNICs are data vNICs.
Prior to NSX Advanced Load Balancer version 22.1.1, a dummy Avi Internal port group was utilized for attaching the unused data vNICs referred to as parking vNIC. Starting with NSX Advanced Load Balancer version 22.1.1, for a new Service Engine deployed, the nine data vNICs will also be attached to the management port-group (Network) in the disconnected state. Avi Internal port-group will not be used for new Service Engines. The Service Engines upgraded from earlier versions to 22.1.1 will still retain the Avi Internal port-group, but post any vNIC update (removal/additional), the updated vNIC will be attached to the NSX Advanced Load Balancer SE management port-group (Network).
You need to plan and ensure to have appropriate number of unused ports in the Port-group allocated as Service Engine Management Network starting with NSX Advanced Load Balancer version 22.1.1.For IP allocation method, enter a subnet address and a range of host addresses within the subnet, in the case of static address assignment. NSX Advanced Load Balancer will assign addresses from this range to the Service Engine data interfaces.
If the management and pool networks use DHCP, the deployment procedure is complete with this step. In case of static IP address allocation, you need to configure an IP address pool.
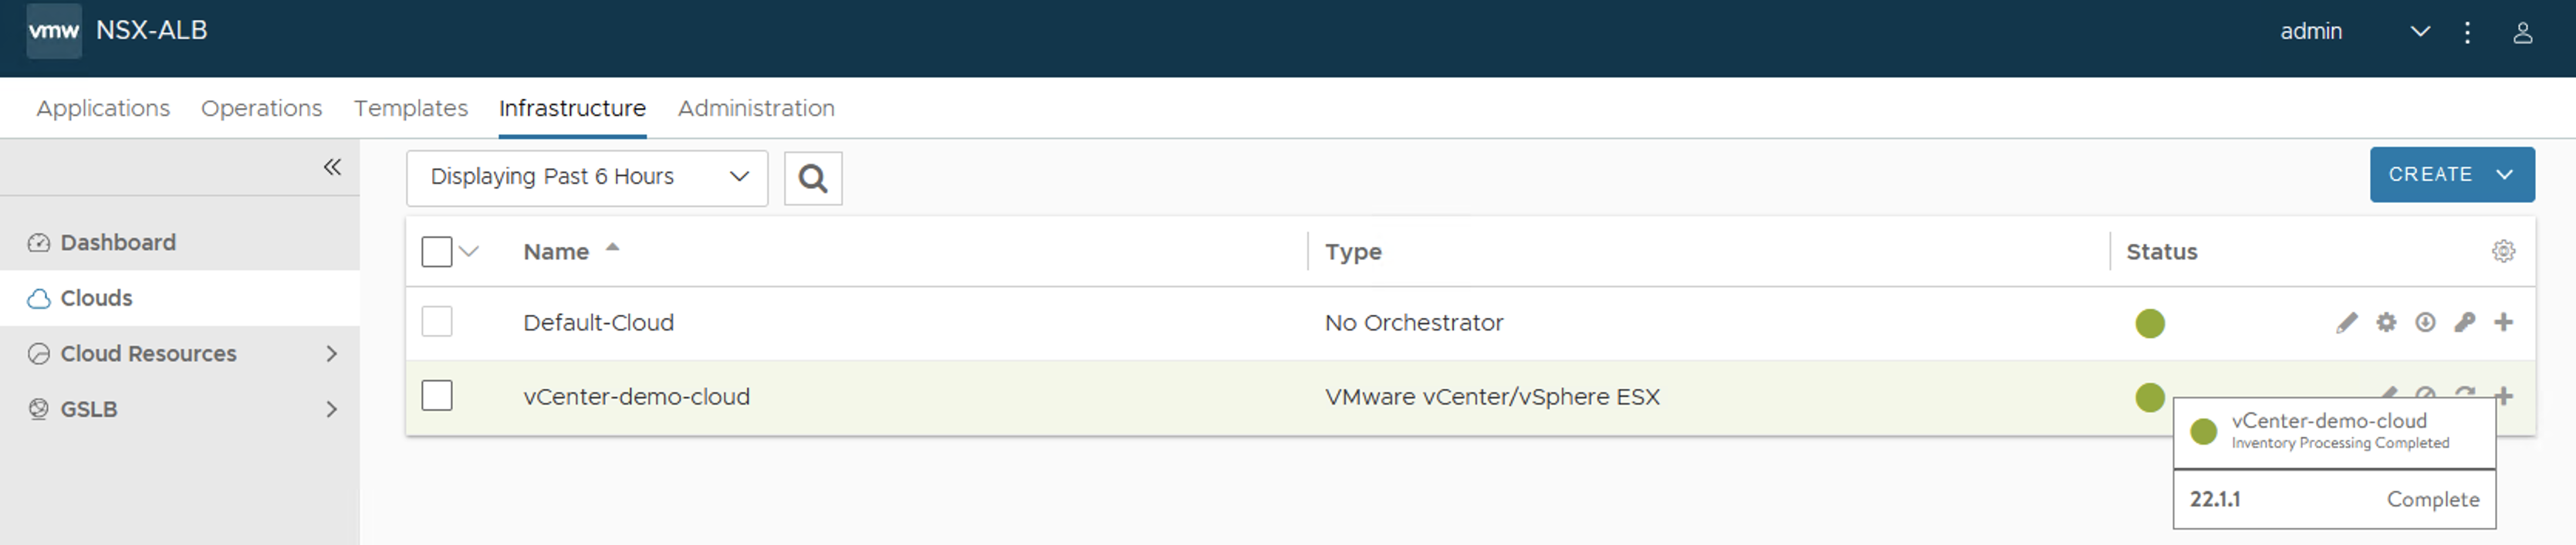
Verifying the Configuration
To verify the installation, navigate to Infrastructure > Clouds and click on Default-Clouds. Click on the Status button. If the status is green, then the installation is a success.
Controller and VMware Communication
The Controller must be able to communicate with vCenter and all ESX hosts that contribute to the deployment. If the communication fails, then the Controller will not be able to spawn Service Engines.
Similarly, if the ESX hosts have DNS names, then the Controller must point to the DNS server used by the ESX hosts to avoid the names resolving to different IP addresses.
Installing NSX Advanced Load Balancer Service Engine
The Service Engine installation in write access mode is automatic. Download and deploy the Service Engine to install it.
In VMware write access cloud, where the Controller spawns or deletes Service Engine based on virtual service placement and scaling requirements, the Service Engine bring up involves the following steps:
-
Reserve the license units required for SE. The reservation can be seen in show license ledger details CLI command as escrow.
-
Spawn SE and allow it to boot up.
-
Service Engine boots up and then finally tries to register itself providing the reservation ID (escrow cookie).
-
The expectation is that SE should come up and consume reservation within 15 minutes and if there are any issues that is detected by resource manager process, then it cancels the reservation after 15 minutes.
-
However, if the reservation remains unconsumed for more than 15 minutes, such reservations are cleared by license manager process within the time range one - two hours.
-
If you want to cancel the reservation, then you can run
HTTP GETonapi/licensing/ledger/clear/reservation. This API cancels the reservation, it does not impact SE boot-up, only that there will not be any reservation and if multiple SE’s comes up, then the first SE that registers gets precedence.
Tagging Virtual Machine
Starting with NSX Advanced Load Balancer version 22.1.3, you can create the SE tags to provide the complete SE name.
Tags and Categories
Tags allow to attach metadata information to objects in the vSphere inventory to make it easier to sort and search for these objects.
A tag is a label that can be applied to the objects in the vSphere inventory. For instance, when you create a tag, you assign that tag to a category. Categories allow you to group related tags together. When you define a category, you can specify:
- the object types for its tags, and
- whether more than one tag in the category can be applied to an object.
You can assign or remove a tag by selecting the appropriate option in Tags & Custom Attributes.
Creating or Assigning a tag
You can create or assign tags as follows:
-
You need to create CATEGORY and TAG in vCenter.
-
Configure the SEGroup/ Cloud in the Controller with custom tags where
tag_keyis selected as CATEGORY andtag_valis selected as TAG name. -
While creating the CATEGORY, it is recommended to select Many tags in Tags Per Object section to create tags that are not mutually exclusive.
-
For more details on a tag category, see Create, Edit, or Delete a Tag Category.
Deleting a tag
- When SE’s gets deleted, the object reference from the Tags object list in vCenter will automatically be removed.
- However, Tags and Categories will be present in vCenter. You need to manually delete these entities from vCenter when needed.
Recommended Reading
- Virtual Service Creation
- Troubleshooting Avi Vantage Deployment into VMware
- Upgrading Avi Vantage Software
- Upgrades in an Avi GSLB Environment
Document Revision History
| Date | Change Summary |
|---|---|
| January 31, 2023 | Added 'Tagging Virtual Machine' section for 22.1.3 release |