vRealize Orchestrator Integration
This article covers connecting VMware’s vRealize Orchestrator to vCenter and Avi Vantage deployments. vRO can be used to automate Avi Vantage tasks, such as deploying a new virtual service or editing an existing one.
See VMware’s vRO website for more info on vRealize Orchestrator. The latest vRO ova can be downloaded from My VMware. The image used for initial implementation can be downloaded from Amazon S3.
Avi Network’s vRO package, which includes pre-built templates for configuring Avi Vantage, may be downloaded from the Avi git repo. vRO support requires at least version 16.3 of Avi Vantage.
Connect vRO to vCenter
- Once the vRO appliance is deployed using the ova, browse to https://<VRO-IP>:8283/vco-controlcenter/#/
- Login using the root credentials provided during ova deploy.
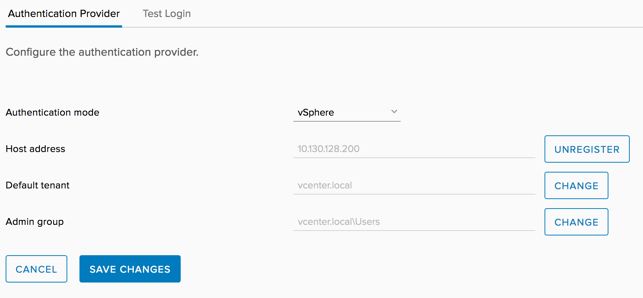
- Click “Configure Authentication Provider.”
-
Select Authentication mode as vSphere and configure as shown:
- On the home page, click Startup Options and restart the services.
Log into vRO
- Browse to https://<VRO -IP>:8281/vco/
- Click “Start Orchestrator Client.” The Java client binary will be downloaded.
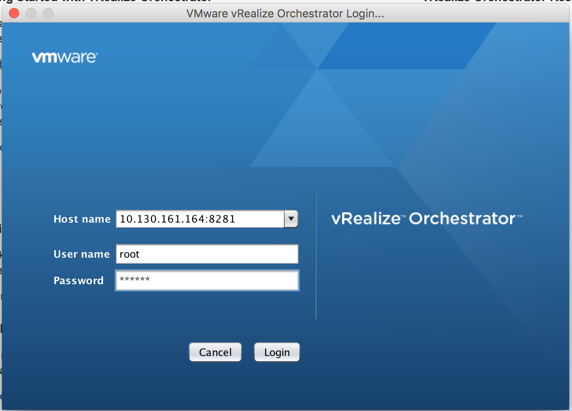
- Open the client.jnlp file and click ‘Run’ when prompted.
- Login using vCenter credentials (not VRO login). The host name will be VRO-IP:8281.
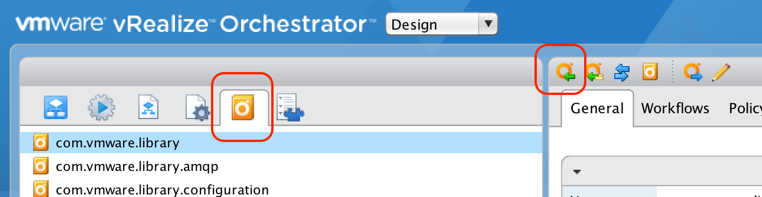
- Change the view to “Design” using the dropdown on top.
Import the Avi-VRO Package
- Download the latest com.vmware.avinetworks.plugin.dynamictypes.package from the Git repo avinetworks/avi_vrealize.
-
On the Packages tab, import the Avi package.
-
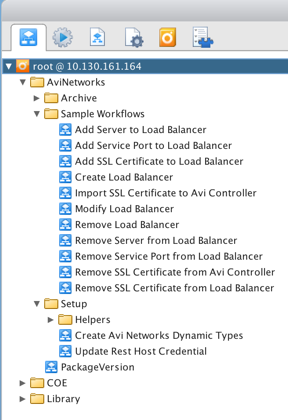
Navigate to the Workflows tab and check that the Avi Networks folder is created with all supported workflows.
Add Avi Controller and Create Dynamic Objects
Before running any of the workflows, first create an Avi Controller object. Make sure support for HTTP basic authentication is enabled on the Avi Controller; it is disabled by default. See the following Basic Auth KB to enable. Next, write access to vCenter Cloud must be configured for the same vCenter server to which vRO is connected.
-
Select “Create Avi Networks Dynamic Types” workflow under Avi Networks > Setup > Helpers.

-
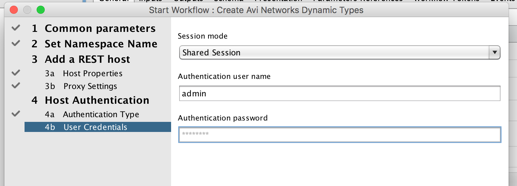
Run the Workflow and follow steps as below:
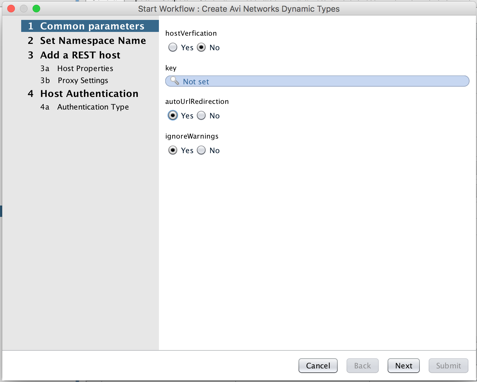

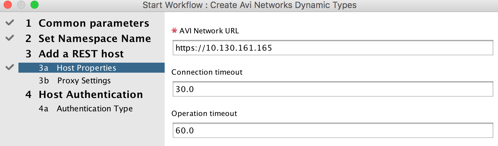 (Note: Enter the Avi Controller URL as > , with no / at the end)
https://<IP
(Note: Enter the Avi Controller URL as > , with no / at the end)
https://<IP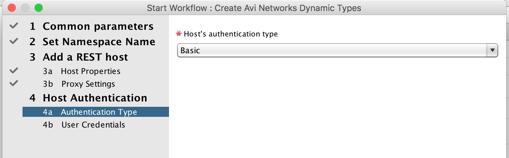
-
On the Inventory tab, Dynamic Types objects will be auto-created for all existing virtual services, pools and certificates:

Running Workflows
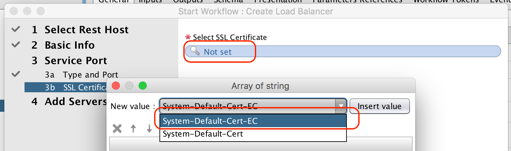
Steps for running all workflows is same. This section walks through HTTPS VS creation workflow.
- Navigate to the Workflows tab.
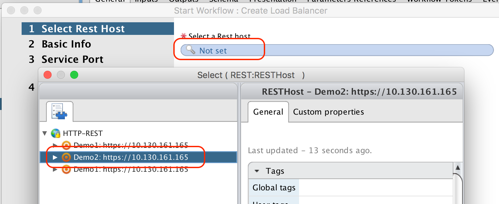
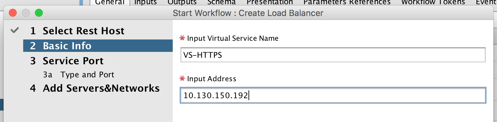
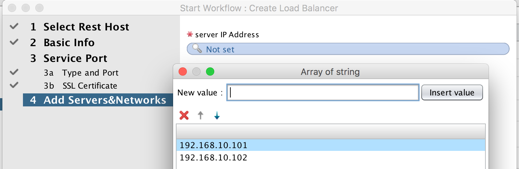
- Run the “Create Load Balancer” under Avi Networks > Sample Workflows
- Follow the steps below to run the workflow:

- Check that the Dynamic type object for the virtual service is created on Inventory tab under your selected namespace. Refresh if it is not visible.
- Check the VS on the Avi Controller UI.